3. Navigating through the System
3.1. Records Officer Account
As discussed in the previous item, the following are the access rights and priviledge of a Records Officer Account
- View ALL recorded documents in the system
- Record and upload attachment in the system
- Receive documents reviewed by Regional Director
- Assign receipients and route document
3.2. Logging in to the System
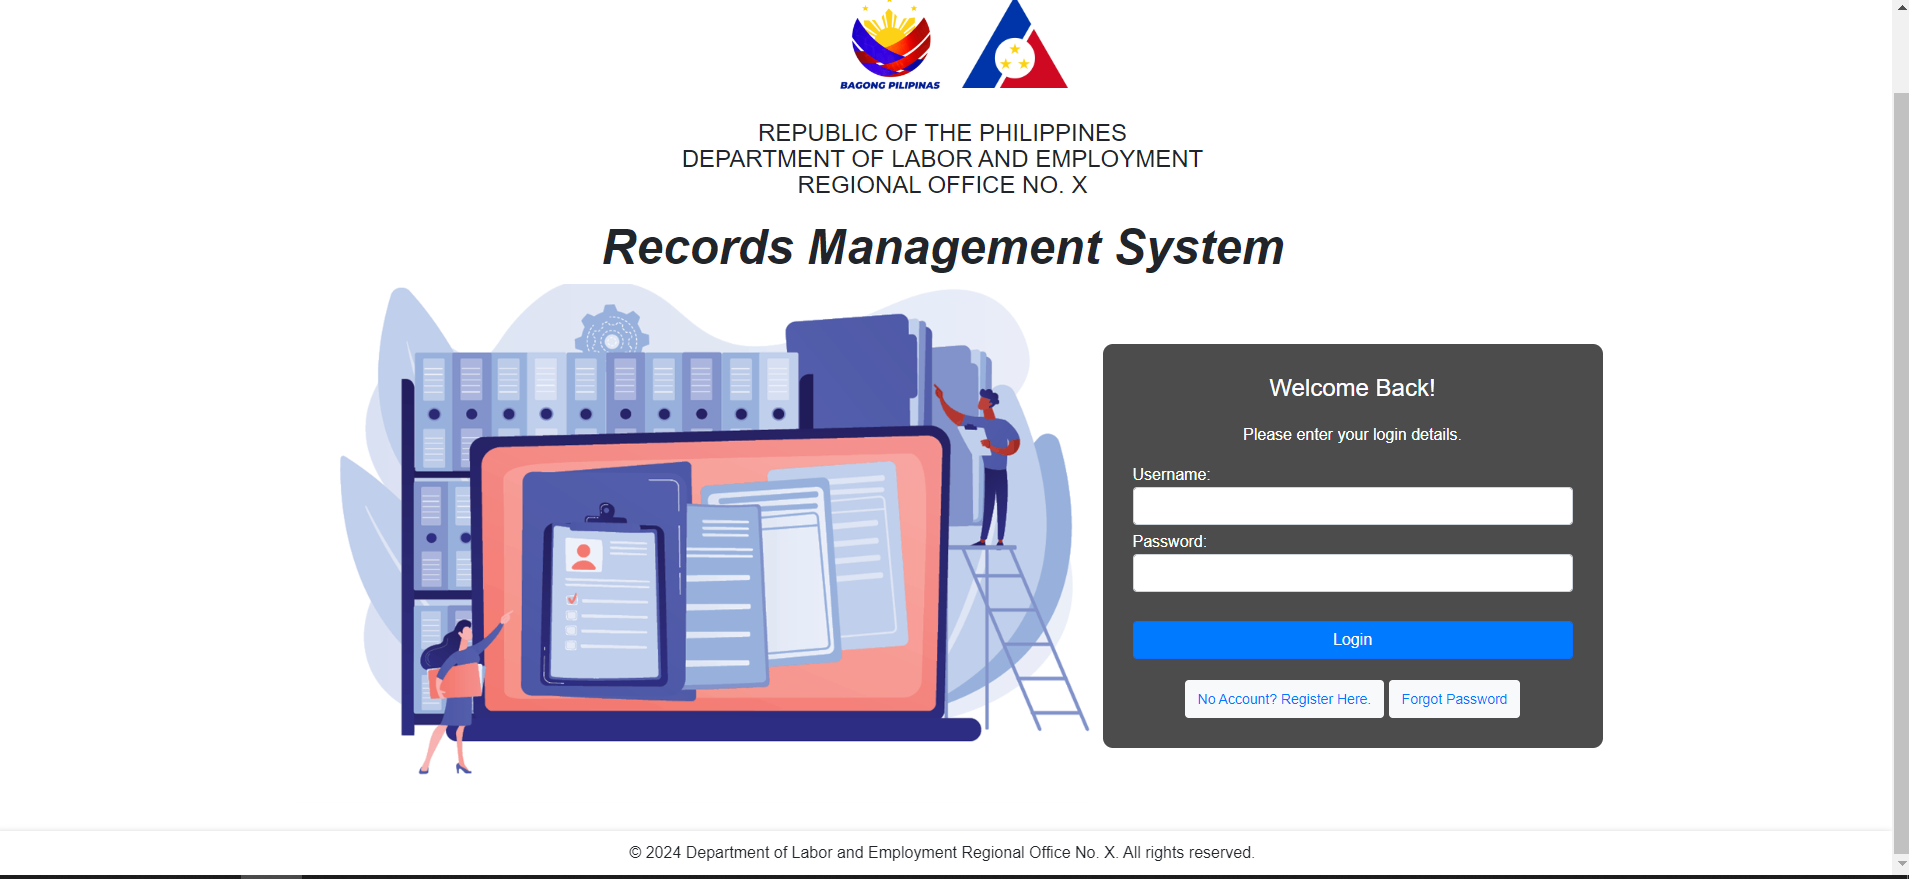
1. Login to the system (https://records.dolexportal.com/) with the account provided by the system administrator
2. Once logged, account will be redirected to the system dashboard
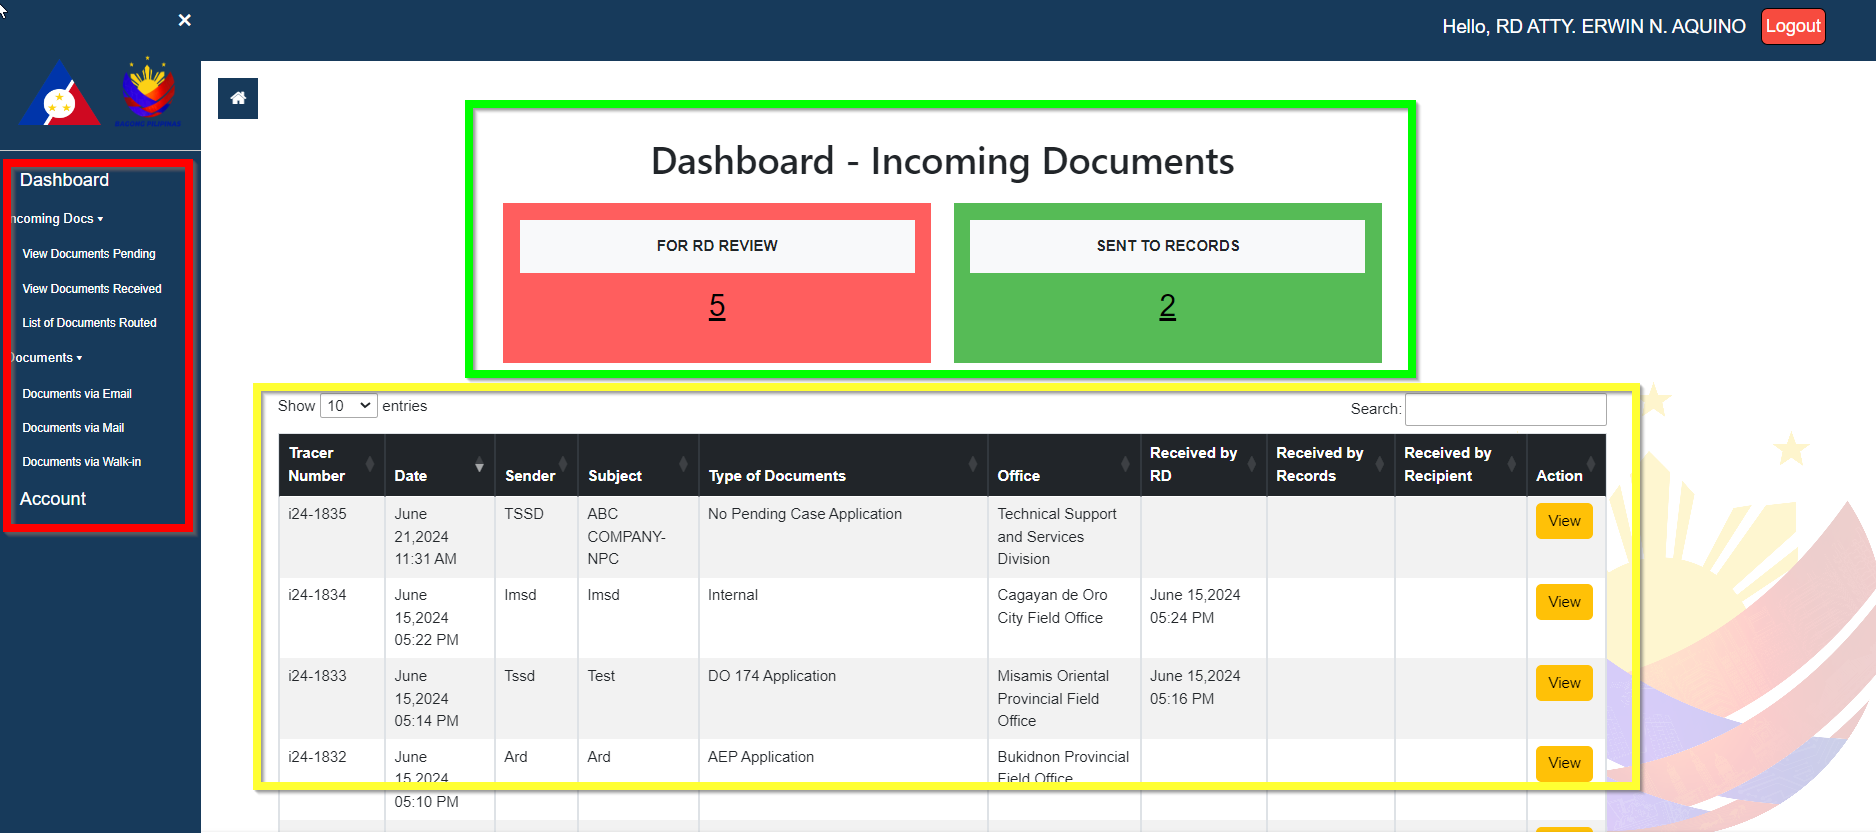
3.3. System Dashboard
In the Dashboard, the navigation links are located at the left part of the page, inside the sidebar. The section with the green layer are data cards for the current data processed within the system. The section with yellow layer are the masterlist of the documents records by the records officer, indicated also in this table are the current status of the documents such as date received from its recipient.
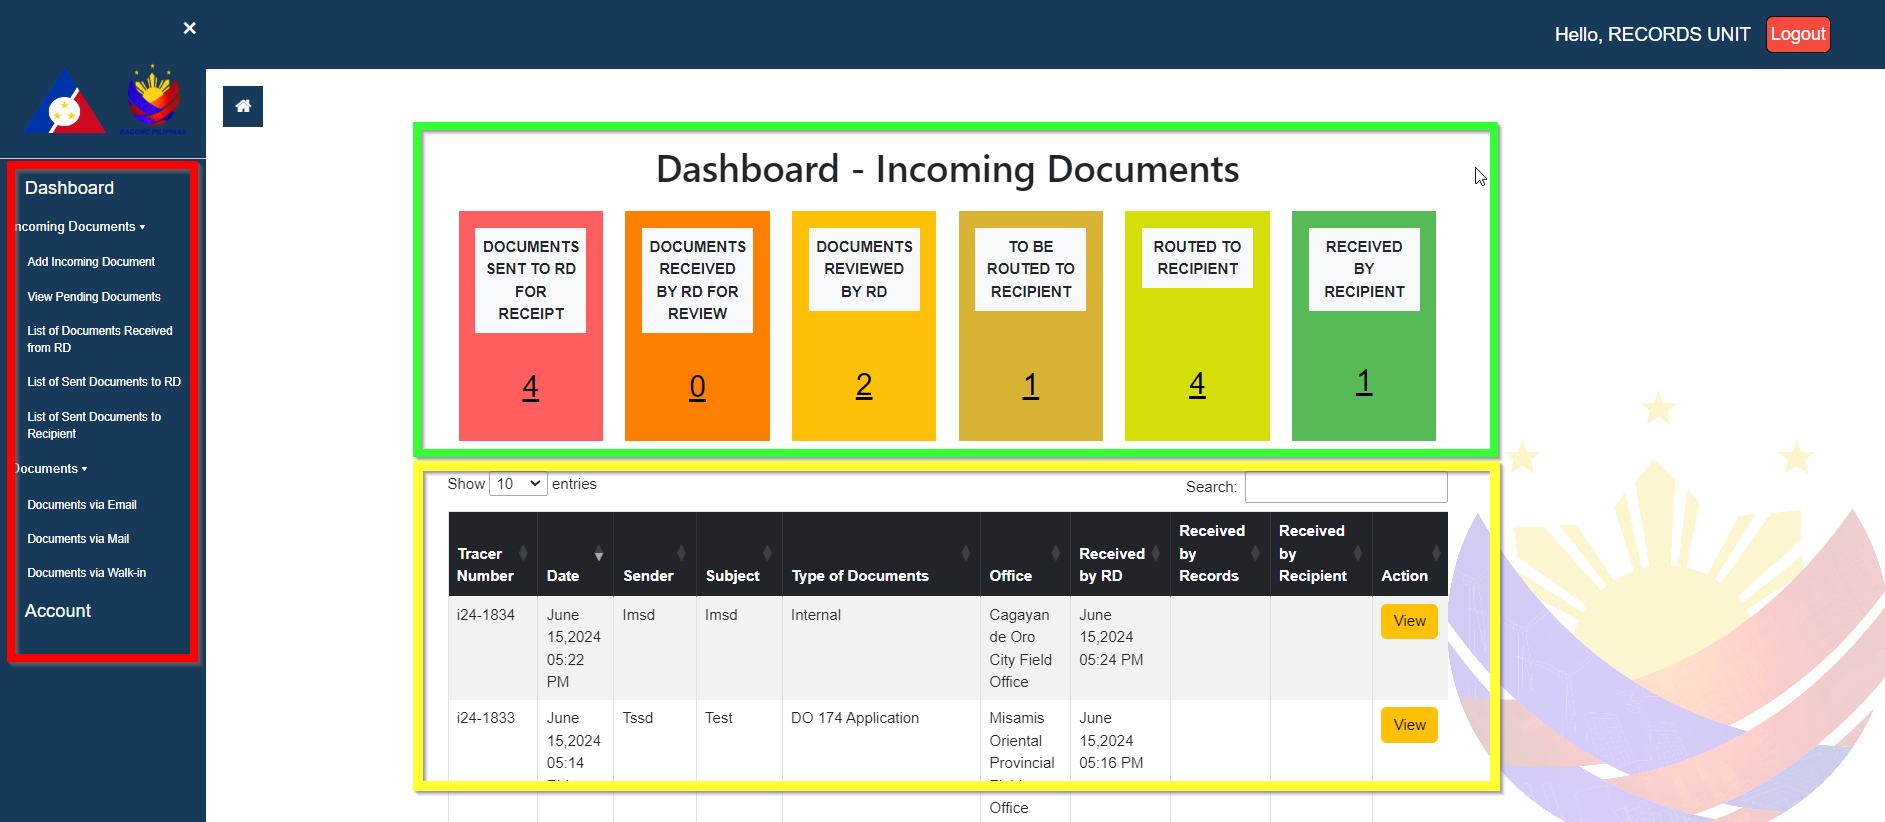
Data displayed in the masterlist depends on the corresponding user account logged in
3.3.1. Recording a document to the system
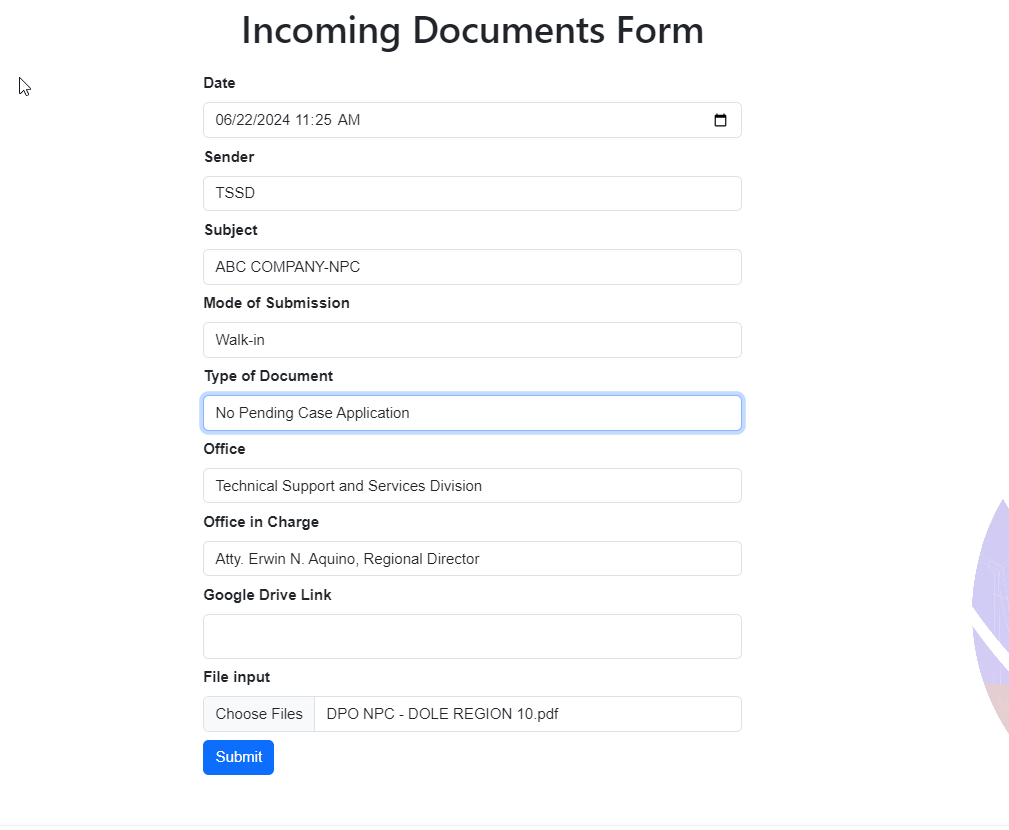
1. From the System Dashboard, click Add Incoming Document , under Incoming Document. You will be navigated to a new page.
2. After being redirected to the Incoming Documents page, provide the necessary fields
With the current version, records officer is required to scan the hardcopy documents and upload them as attachment. For certain documents such as DILP, GIP, TUPAD and SPES; records officer is required to scan atleast the first page of the document, before uploading to the sytem and routing it to TSSD

3. After successfully recording a new document to the system, it will be forwarded to Regional Director for acknowledge ment and review
4. Routed document can be viewed and tracked in the masterlist
All documents are routed to Regional Director for review and feedback EXCEPT TUPAD, DILP, GIP and SPES, which are routed directly to TSSD for processing
ONLY record document into the system once details are correct. Actions once submitted are irreversable
3.3.2. Acknowledging and Routing Documents
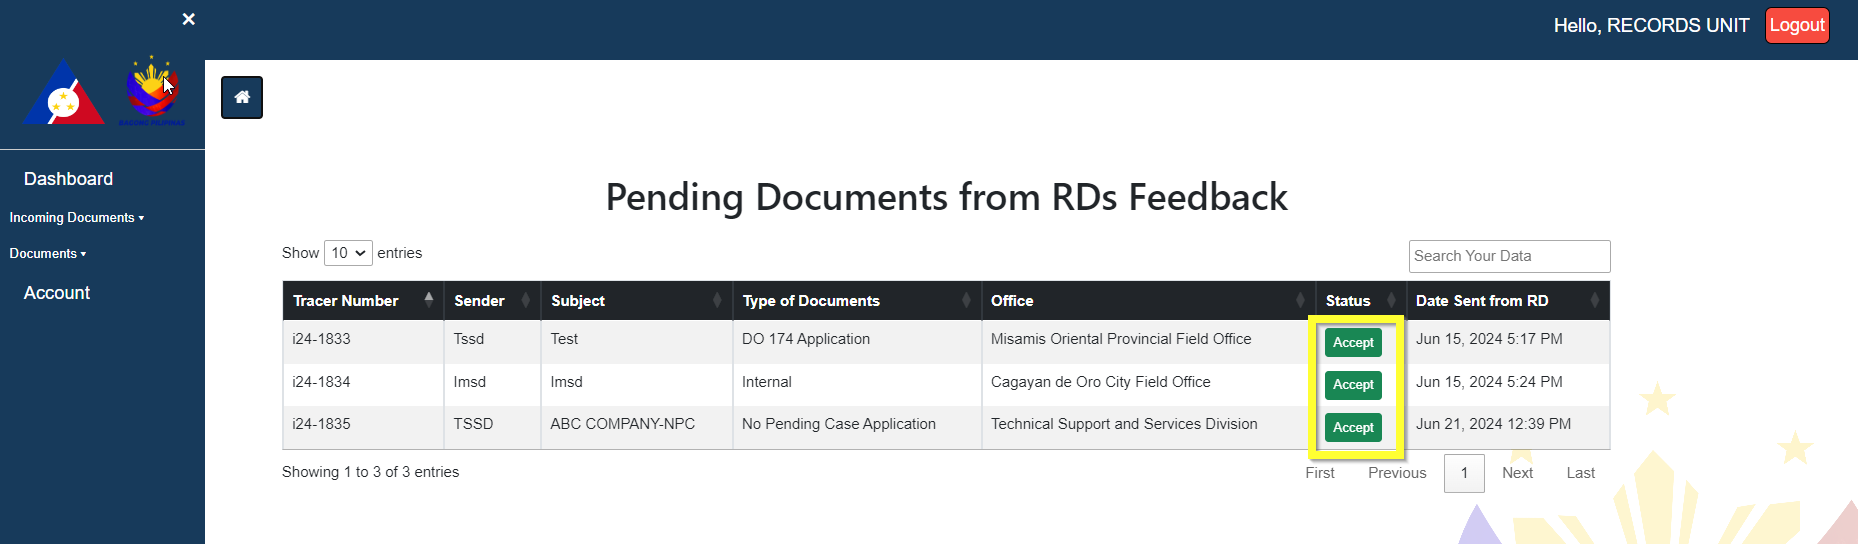
Once document has been acknowledged and reviewed by the Regional Director. Documents is then sent back to Records Officer for routing to the recipients identified by Regional Director. To view the reviewed document:
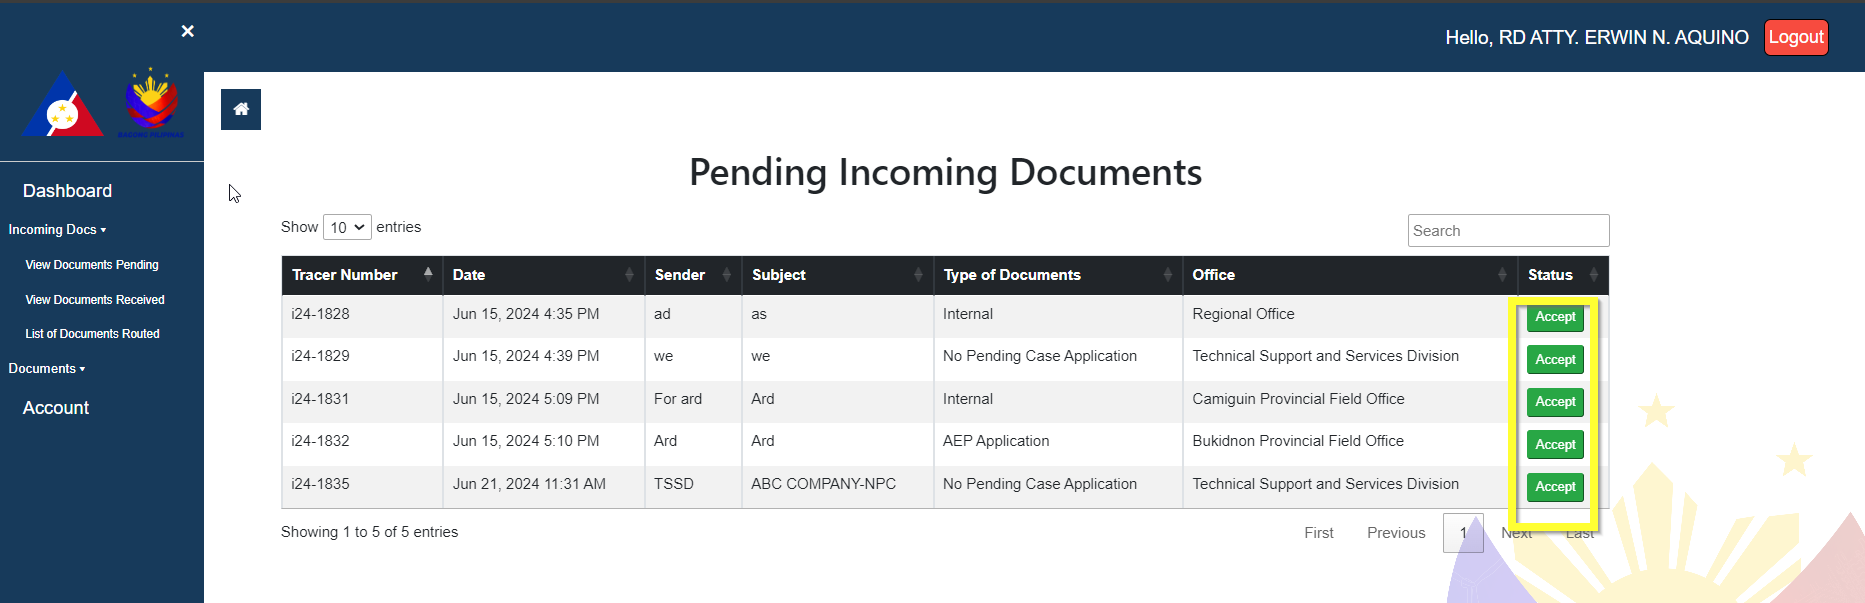
1. Navigate to Incoming Documents->View Pending Documents
2. Acknowledge document by clicking on the Accept Button
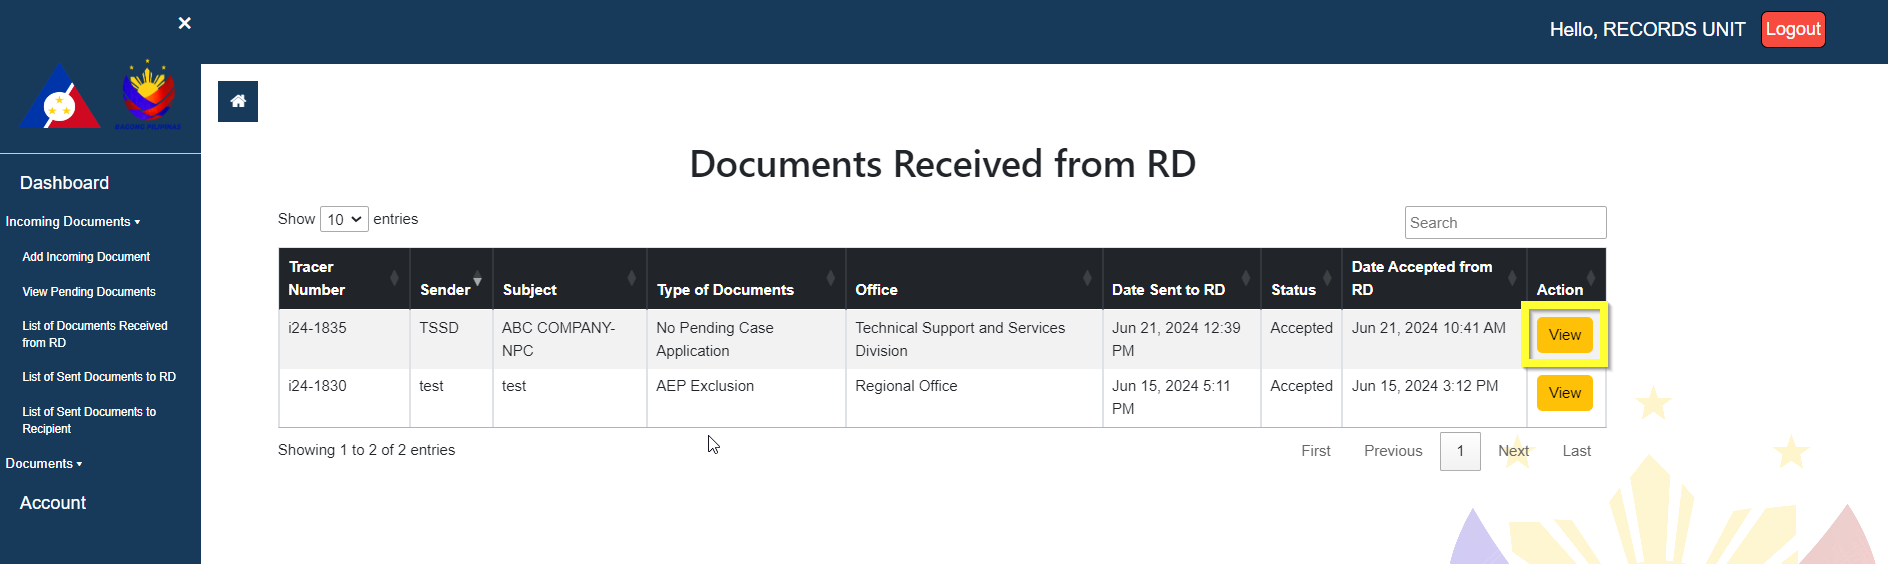
3. After accepting document, document can then be accessed for updating
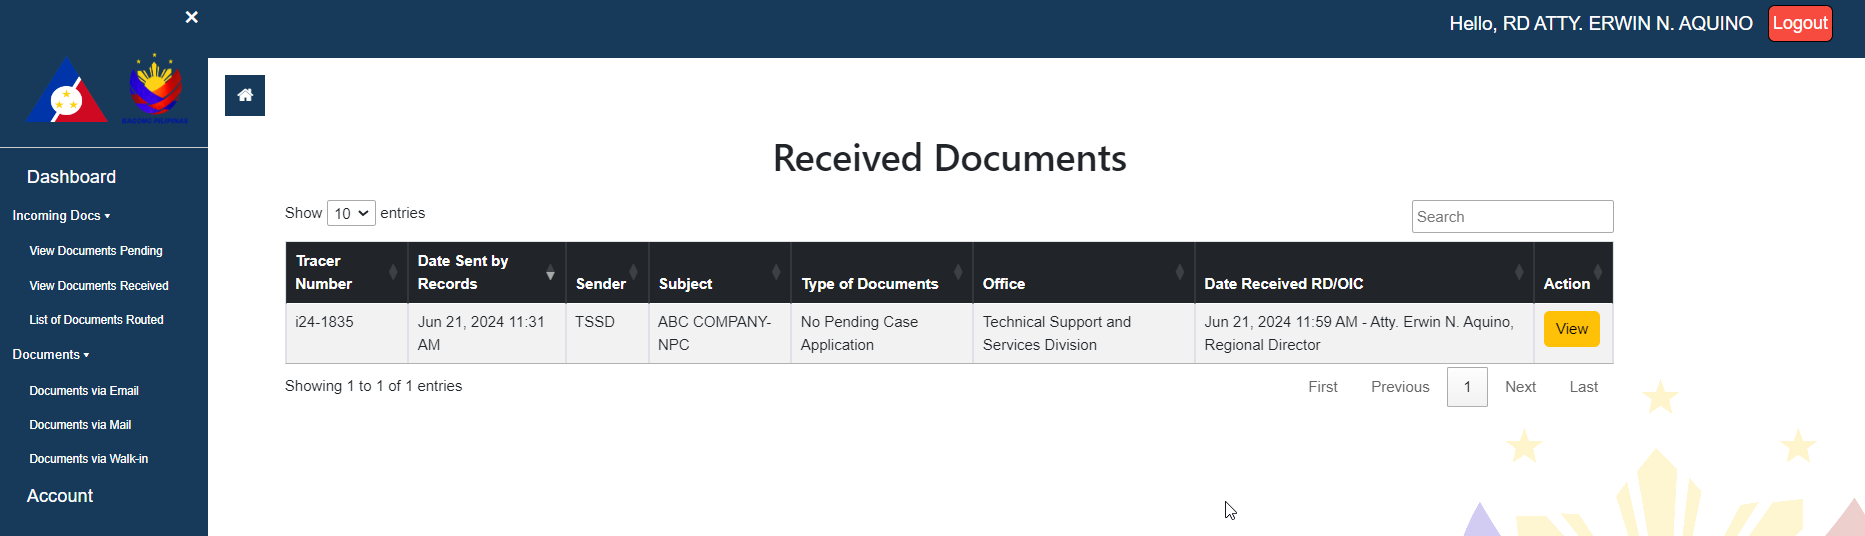
4. Under Incoming Documents-List of Documents Received from RD, click View button
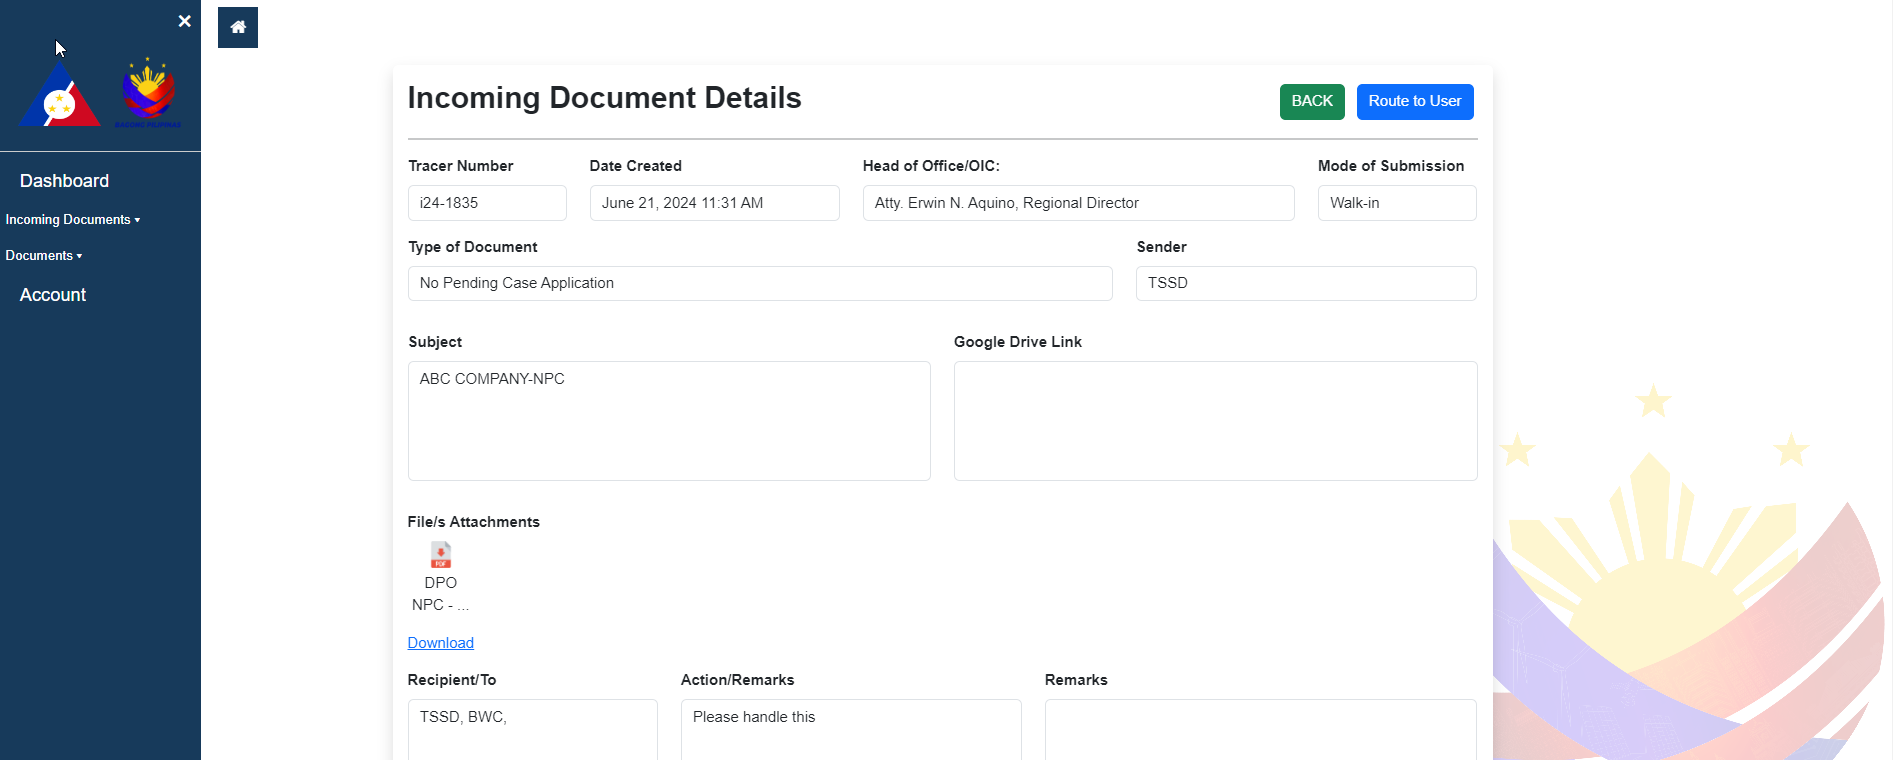
5. Update route slip by clicking on the Route to User button, on the top left section
6. identify recipients of document as instructions indicated
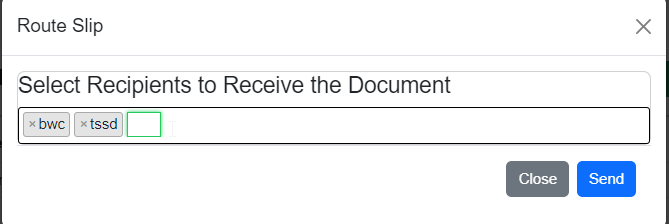
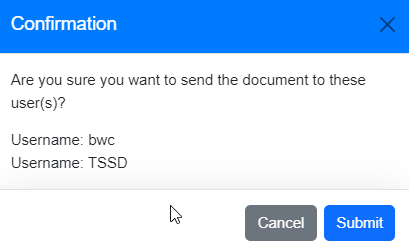
7. Once complete, click the Send button, a prompt message will appear, click Submit
8. Document will then be forwarded to identified recipients for acknowledgement and actions
3.4. Regional and Division/Provincial Director Account
3.4.1. Logging in to the System
1. Login to the system (https://records.dolexportal.com/) with the account provided by the system administrator
2. Once logged, account will be redirected to the system dashboard
3.4.2. System Dashboard
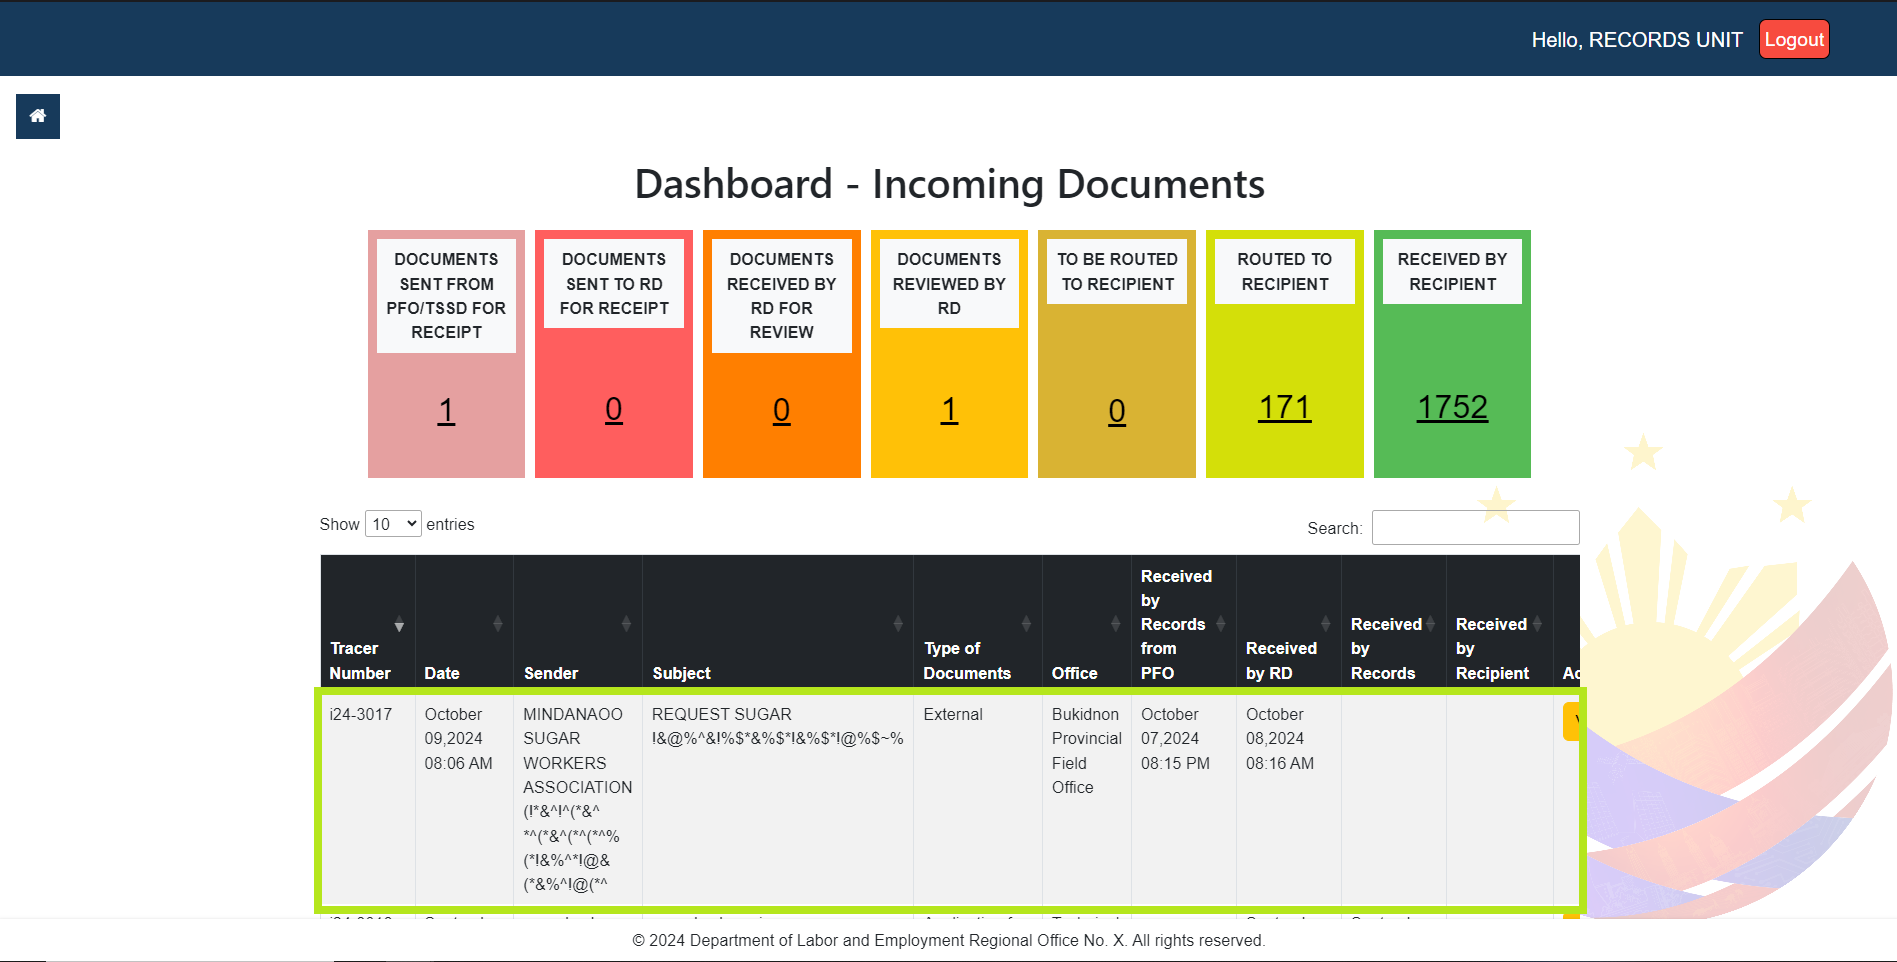
In the Dashboard, the navigation links are located at the left part of the page, inside the sidebar. The section with the green layer are data cards for the current data processed within the system. The section with yellow layer are the masterlist of the documents recorded in the system, indicated also in this table are the current status of the documents such as date received from its recipient.
3.4.2.1. Acknowledging and Routing Documents
Documents recorded by the Records Officer is forwarded to the Regional Director's account for acknowledgement and review. To perform this:
1. Navigate to Incoming Documents->View Pending Documents
2. Acknowledge document by clicking on the Accept Button
3. After accepting document, document can then be accessed for review
4. Under Incoming Documents->List of Documents Received, click View button. User will be redirected to a new page
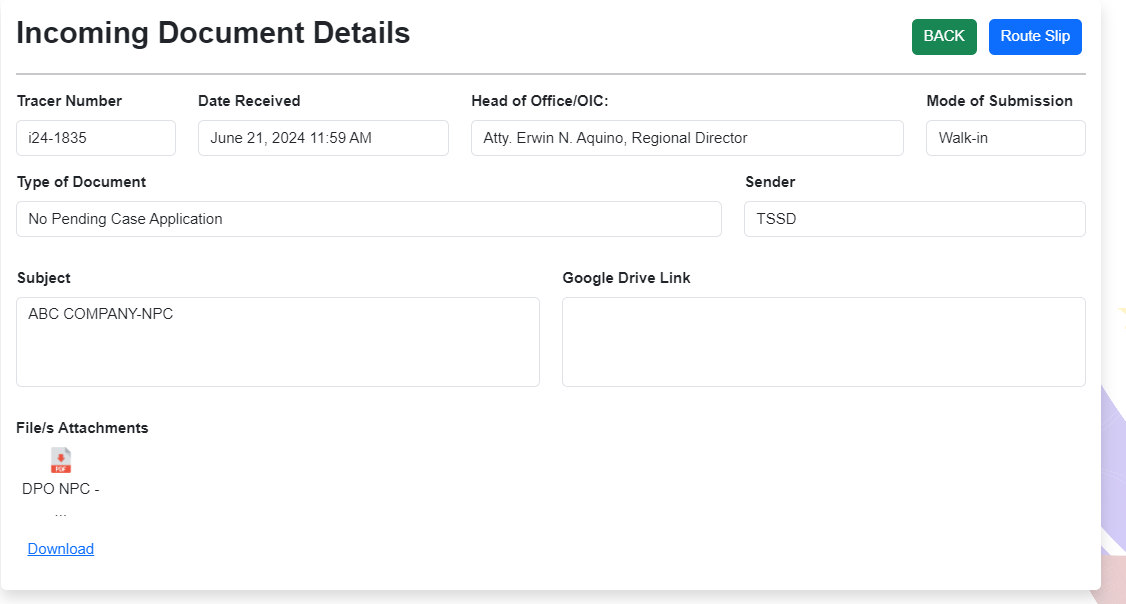
5. To issue route slip, click on the Route Slip button located at the top corner of the page
6. Fill up the necessary fields
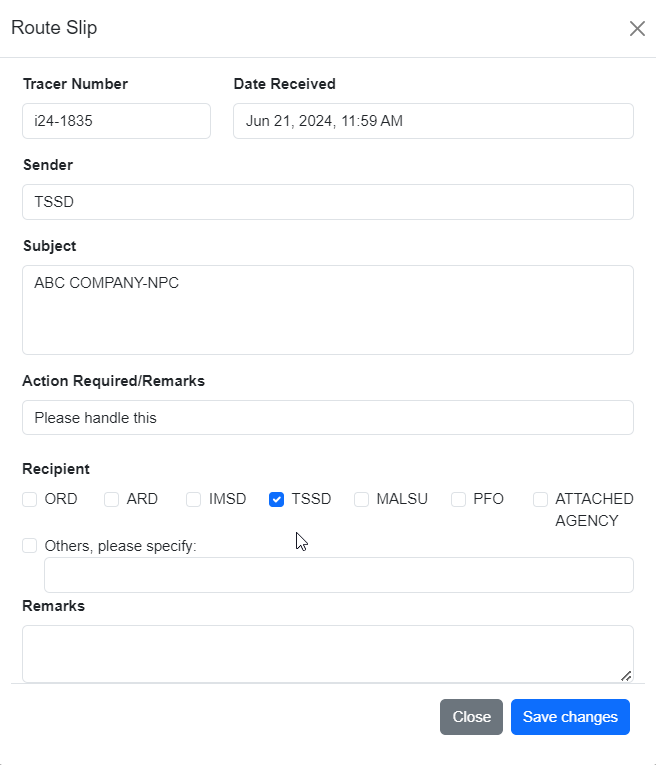
Regional Director's account can select multiple recipients
7. Once completed, document will be forwarded to Records Officer for handling and routing of route slip